Making an arena
World
This tutorial presumes that you already have a world with your desired BedWars map, loaded with a plugin like Multiverse or SlimeWorldManager and that you already are in the world with your BedWars map.
Creating the arena
Create the arena by executing this command: /bw admin <arena name> add.
Setting the arena positions
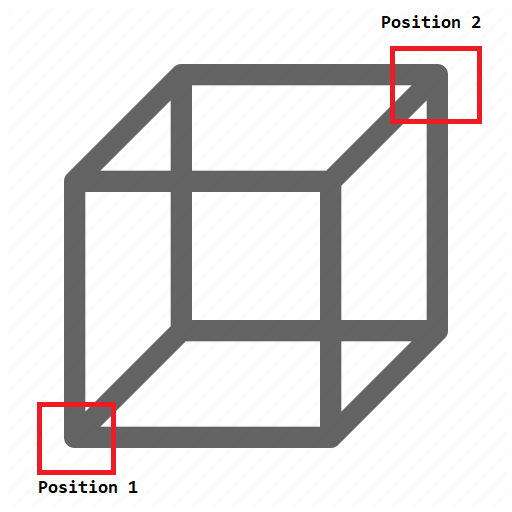
To set the first position, go into the first corner of your map and execute this command: /bw admin <arena name> pos1.
To set the second position, go into the second corner of your map and execute this command: /bw admin <arena name> pos2.
Positions
pos1 is one corner of the arena and pos2 is the corner of the arena, that is opposing to pos1!
Adding teams
Now it's time to add the teams. To add a team, do /bw admin <arena> team add <team name> <team colour> <team size>.
For the colors, you can use this TeamColor enum: RED, BLUE, GREEN, YELLOW, MAGENTA, PINK, LIME, BLACK, WHITE, ORANGE, LIGHT_GRAY, GRAY, LIGHT_BLUE, CYAN and BROWN.
Warning
You must create at least 2 teams.
Setting team spawns
Stand where you would like to have the team spawn, and look in the direction that you want your players to be oriented when they spawn, as the yaw will also be taken into account. Set the team's spawn with this command: /bw admin <arena> team spawn <team> and repeat until all teams have a spawn.
Setting the team bed
Stand on top of the bed, look down on the head of the bed and execute this command to set the bed location: /bw admin <arena name> team bed <team name>. Repeat until all teams have a bed.
Target blocks
The team's target block isn't limited to a bed, in fact BedWars has support for any block (the Dragon Egg, cakes and the Respawn Anchor have special support to allow BedWars to operate as EggWars, AnchorWars or CakeWars out of the box).
Adding resource generators
Stand at the block where you want the generator to be and execute this command: /bw admin <arena name> spawner add <resource> <true/false>.
Valid default resources: bronze, iron and gold (diamond and emerald is not included out of the box, you will have to add it yourself in the configuration).
The true/false part of the command means if there should be a hologram (true) or if there should be no hologram (false).
Adding merchants
Now it's time to add the shops. Stand where you would like your shop entity to be, look forward and execute this command: /bw admin <arena> store add <name of villager entity> [file with shop] [use main shop] (last two command parts can be omitted).
Example: /bw admin <arena> store add &aStore shop.yml false, /bw admin <arena> store add &aStore
Store entity types
If you would like to have a different entity as the store, do the following:
/bw admin <arena> store type <living entity>.
This sets entity type of store (Villager, Horse, Cow, etc.).
If you would like to have a player with a skin as the shop keeper, use this command: /bw admin <arena> store type Player:skinname.
Final steps
Add the lobby location for the arena by executing this command: /bw admin <arena> lobby.
Add the spectator location for the arena by executing this command: /bw admin <arena> spec.
Last but not least, remember to save the arena with /bw admin <arena> save.